


Night photography is a fascinating type of photography that allows you to discover natural and city landscapes in a completely different light. Taking night photography is a very different discipline from classic landscape photography and comes with its own unique challenges. Firstly, let’s make the distinction between urban night-time photography and photography further away from sources of light and light pollution.
Night photography in the city
This category includes all those situations in which there is a predominance of artificial light, in these environments there are certain things we need to take into consideration:
- The white balance of artificial light: not all artificial lights are the same, instead they are a mixture of classic lights (sodium and mercury) and led lights. Each have a different white balance and therefore the colour rendering will be very different.
- Flare: the street lamps and headlights of the car are very strong, directional light sources, so try to avoid them hitting the lens directly, or you will find flares in your shot which are very difficult to remove in post production (of course sometimes they can add to the shot, dependant on the required composition.)
- Composition: technical awareness is essential, but composition will always be what defines your shot and is the hardest thing to master. Learn to manage and take advantage of lights, such as vehicle headlights to add interesting dimensions to your shot.
What filters can help in night city photos?
Even at night there are filters that can help, one that is often not considered is the polarising filter. The ability to cut reflected light is not just a “daytime” feature, it is also possible to do it with artificial light at night. If you are shooting in a situation where there are many lights reflected in the water, a the polariser you can reduce the effect and avoid burnt highlights in the reflections. Equally you can still adjust the reflections on any non-metallic surface that you have in the scene. So let’s not underestimate a good polariser when we need to manage reflections – even at night.
A filter created specifically for the night, is of course the NiSi Natural Night®. Its primary function is to block light frequencies around 580-600 nm.

In this way we get a RAW file that does not present this specific yellowish tone and is instead closer to magenta. After adjusting the white balance we find ourselves with a more balanced photo, cooler and with the brightest light muted. This is a particular effect, which is easier to show than to explain:


Photo by Andrea Burla
In post-production we go to correct the reds (-35 in this case) and the greens (+5), to achieve a more balanced shot.


Thanks to the use of Natural Night it is possible to obtain this effect with minimal corrections in post-production. We can also use the tint value of Lightroom, or the HSL panel (also in Lightroom), but in any case, minimal corrections are required that would be difficult (or impossible) without the Natural Night filter.
What options would we have had without the Natural Night filter? The only option would be to try to recover the shot in post production. Let’s see what the result could be by applying strong changes to the colour balance.

Below are the changes to the colour balance we made.

We compensated yellow for blue, and made similar changes to reds and greens. Although we have tried to balance the yellow component of the rear light, we have not been able to obtain a result even close to that achieved with the filter.
The photo with the Natural Night is, as anticipated, much better and certainly unique.
Night-time City Photography Techniques
When photographing at night in the city, it is very likely that we would use a closed aperture (f/8-f /11) to maximise the sharpness of the lens and the depth of field. If you like, you can also close the aperture down to f/14 or f/16 to get a star effect on the light points, but not all lenses are able to produce a pleasant star. The ISO should be kept low, to avoid too much noise, and consequently the shutter speed will be several seconds. For this we would need a solid tripod.
Shoot the Stars
Rural photos of the stars differ from those in the city for a fundamental reason: you can see the stars and you are generally far from strong sources of light pollution. Unfortunately, it is very difficult to completely get away from light pollution, so using a filter such as the Natural Night helps to counter the classic orange glow that is difficult to eliminate in post-production. This also gives you a better idea of the shot in-camera, on location without having to wait until you get home and hope you can recover it.
Technical tricks in night photos
For night photography it is essential to have a bright lens, at least f/2.8 as a rule. We will also increase the ISO so that the shutter speed does not exceed 30″. 30 seconds of exposure is not a precise number though. If you shoot with long focal length it must be quicker (20-15″ or less depending on focal length). If you shoot at really wide-angle (e.g. 12mm full frame) 35-40″ could be ok to keep the stars sharp and without any trail.
The rule of 600 is a fast way to understand the maximum shutter speed that we can use before the stars leave trails in the shot. You have to divide the number 600 by the real focal length to which you are shooting, in the case of Canon APS-C for example, 18mm is equivalent to 28.8mm on Full Frame.
So: 600/28.8 = 20.83″. You can shoot for a maximum of 20″. There are also other factors to consider; for example cameras with many megapixels make it easier to capture the movement of the stars (simply because they resolve more details), so if you have a camera with a high resolution sensor (from 24mpx up on APS- C and from 36mpx up on Full Frame) you can reduce the number to divide down to 500. In the previous example: 500 / 28.8 = 17.36 “. The maximum time is lowered to 17”.
Using a wide angle between 16 and 20mm on full frame (10-14mm on APS-C), aperture f / 2.8, ISO 3200 and about 30 “of exposure, we have a starting point that is almost always correct for night-time photography. Obviously with very low light sources.
Unfortunately it is very difficult to ensure that light pollution is completely absent as even in the most remote places there is often a halo due to the humidity of the air and lights even at tens of miles away. The Natural Night filter can help, but remember to increase the exposure about half a stop in case of a lot of pollution light (because it is “blocked” and therefore does not reach the sensor).

In this photo there is both “classic” light pollution on the right and Airglow (green) on the left.
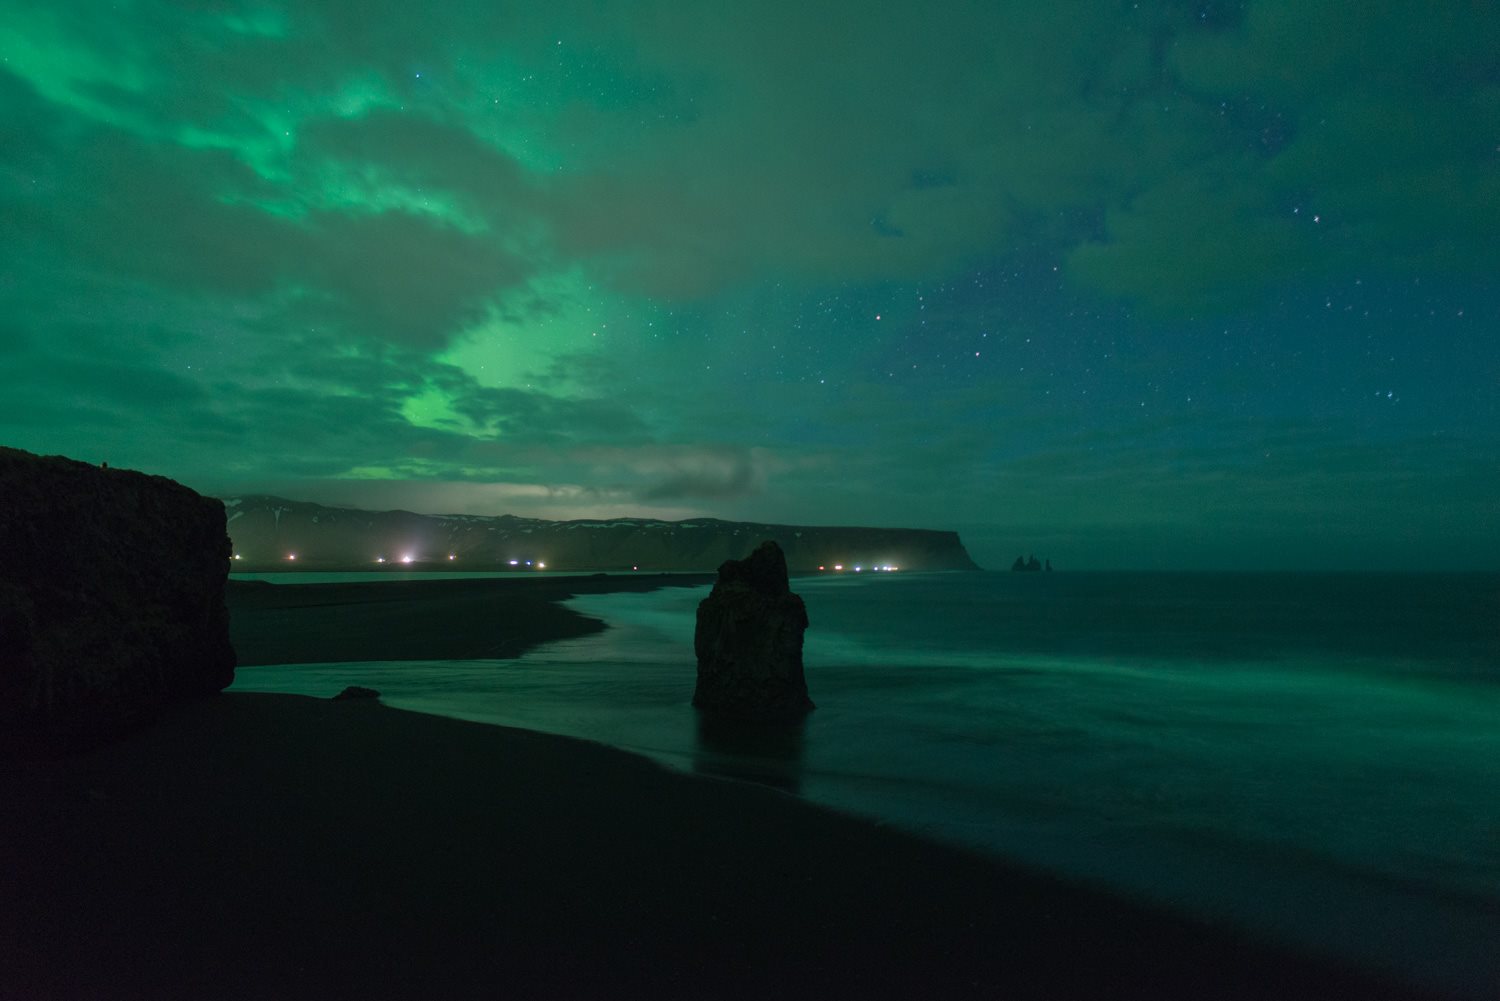
Then there are other nocturnal situations, more rare, but no less interesting; for example photographing the Northern Lights. In the photo below we see how the Natural Night has almost completely removed the orange halo of the lights of the town. Certainly it would have been possible to correct this in post-production. But the process requires you to be incredibly precise which is time-consuming and you are still not assured of getting the end result you want.

Natural Night product range
The NiSi Natural Night is available in many formats: circular, 100mm and 150mm square, also for the DJI Mavic Pro, Phantom 4 Pro/Adv drone and in various kits for Mavic Air and Mavic 2 Pro as well as in kits with others circular filters.
-
Circular filters
 Natural Night Circular filter
 -
System 100
 Natural Night Filter 100x100mm
 -
System 150
 Natural Night Filter 150x150mm
 -
System 75
 Natural Night Filter 75x80mm
 -
Drone filters
 DJI Mavic 2 Pro Professional Filter Kit Plus
 -
Drone filters
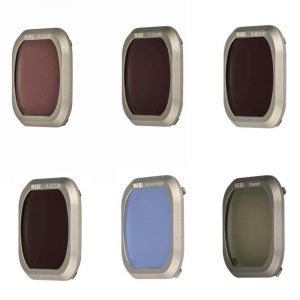 DJI Mavic 2 Pro Advance Filter Kit Plus
 -
Drone filters
 DJI Mavic 2 Pro Advance Filter Kit
 -
Drone filters
 Natural Night filter for DJI Phantom 4 Pro and Advanced
 -
Drone filters
 Natural Night filter for DJI Mavic Pro


